So I was shopping in Myeondong (명동) with my friend during the summer and someone outside Holika Holika was giving out these patches so we decided to take it and go inside for the heck of it.
I have no idea how much it was because it was free for me. But to me, patches in general are a bit sketchy and a waste of money. Sure, it feels good on your face but otherwise, it doesn't do anything like it says it will do to your face.

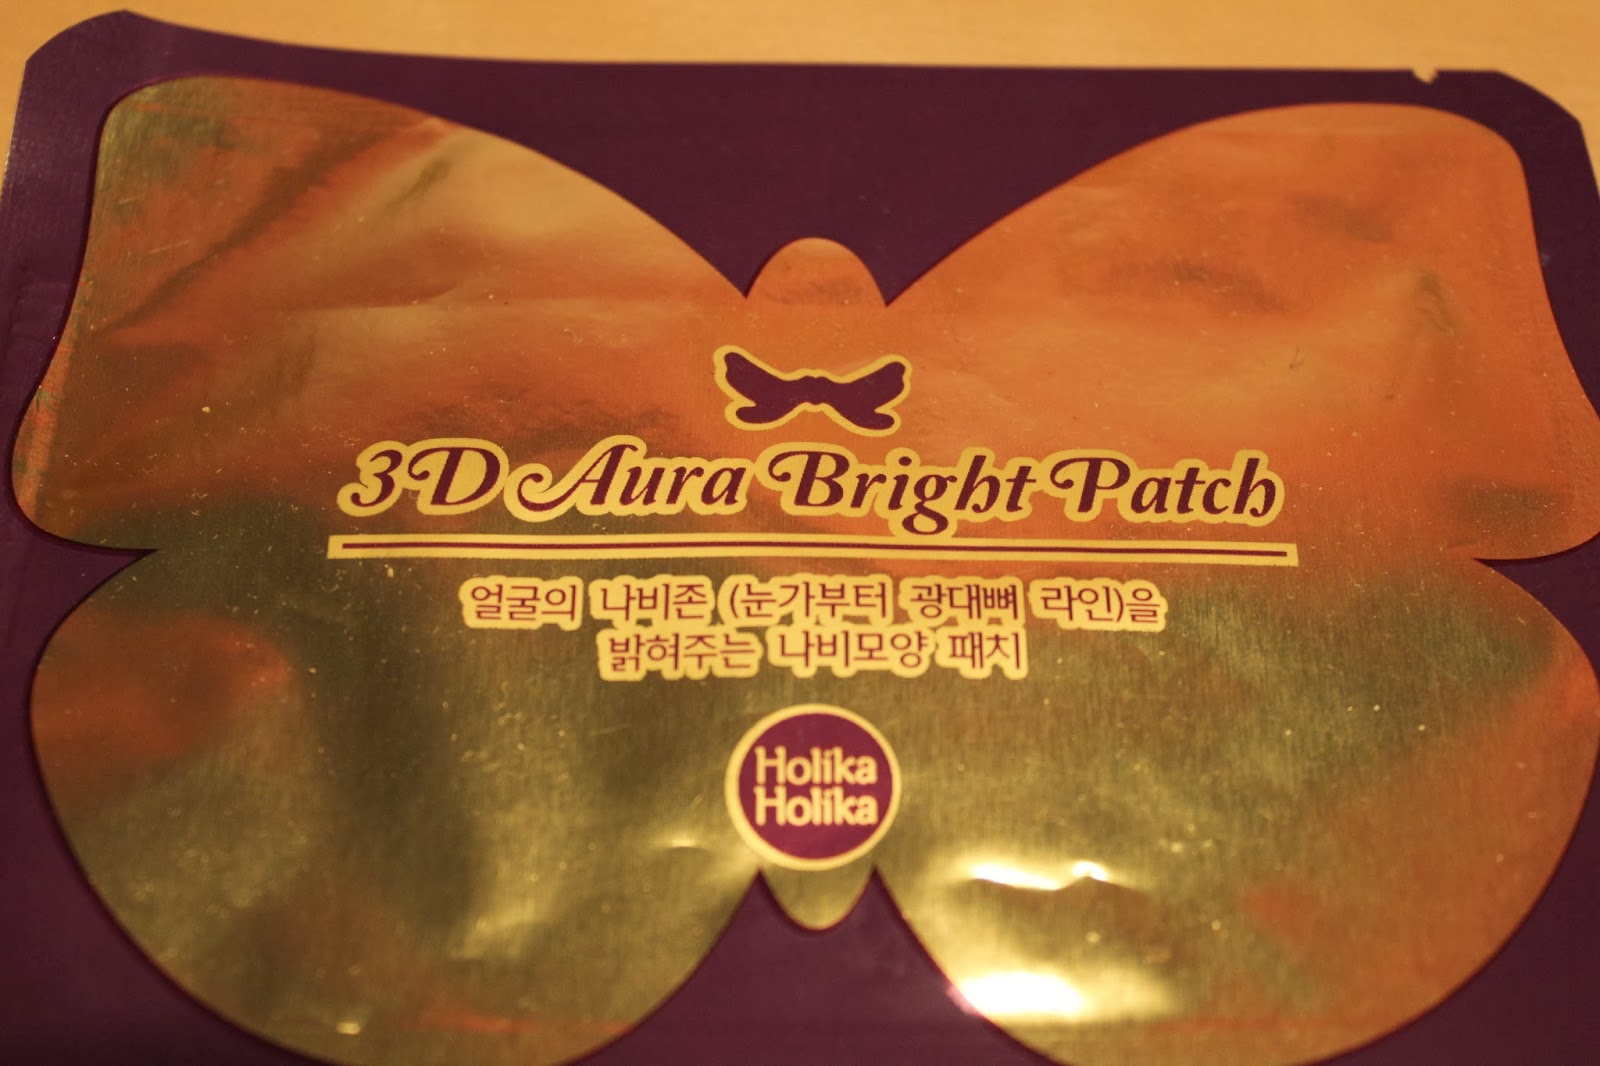
On package: 3D Aura Bright Patch
얼굴의 나비존 눈가부터 광대뼈 라인 (을) 밝혀주는 나비모양 패치
Butterfly patch that lightens the face's butterfly zone (the edge of the eye to the line of the cheekbone)
*Amazing trans goes to my friend ^^ thank you very much <3
The packaging is eye-catching because of the pretty butterfly! It's even more surprising that it was indeed shaped like a butterfly!

The back of the package

Pictures on how to put on the patch and for how long.

Holika Holika 3D Aura Bright Patch
This butterfly-shaped patch has the brightening effect because it intensively works on skin defects such as dark spot and freckles.
[How to use] After using toner, apply the mask to under the eyes area, and then take it away after 15-20 minutes.

1. 1. 세안 후, 물기를 제거하고 코너로 피부결을 정돈 합니다.
After washing your face, dry your face and apply toner on your skin
2. 파우치를 개봉하여 패치를 꺼낸 후, 양 볼 및 눈가, 입가를 모두 커버하도록 밀 착시켜줍니다.
After you open the pouch and take out the patch, stick it on so that both cheeks underneath your eyes and around your mouth is covered.
3. 15~20분 동안 휴식을 취한 후, 패치를 떼어내고 남은 에센스는 가볍게 두드려 흡수사켜 줍니다.
After letting it rest 15~20 minutes, take off the patch and apply the remaining essence lightly and let it absorb.
*Amazing trans done again by my friend ily thank you so much <3The reason I included the korean instructions is because it looked way longer than the English one. I knew something was up.. I didn't ask my friend until after I did this. I didn't bother putting on the toner because I was just too lazy.
I think the Korean trans gives you more information on how to put it on. I can't blame the English trans though because most people who buy the products are Korean so why bother having English..
The shape of the patch was really cool and it was almost too cool to ever use. I ripped the package open from the top and found the patch all folded up at the bottom of the package. It took a while to get it out without having to break the package in half.


Yes, I stuck the patch on my mirror so I could see how it was shaped. I think I took a picture of it upside down but either way, it looks like a butterfly to me..I guess.

As it says on the package, it says to put it on under your eyes. In this picture, you can see it didn't really work out for my face shape..If I can get it on one eye, I can't get it on the other one.
When I put it on, I got a stinging/tingly feeling on my face and I had the feeling until the 20 minutes I kept it on for.
It feels weird but not very painful at all. I thought that maybe it meant that it was doing something but I was wrong.
I have dark skin under my eyes and a few dark spots I think?
I took it off and actually felt no difference, beside the fact that the patch left the solution on my face.
Overall, the patch was unsuccessful and I was left feeling a bit sad that the packaging was so cool yet it didn't work very well.
I wouldn't recommend it to anyone but I guess you should give it a try before you judge because everyone has different skin types!
As always,
Melissa
No comments:
Post a Comment